March 25, 2008 - Install Carburator

 Bolting the Carburator is easy -- just put it in place on the four studs, then put the four nuts on.  However, in keeping with the reality that nothing is ever easy when it comes to building a plane, there is the control cable bracket to take into account.  The bracket fits between the carb and the engine.  Because the throttle and mixture control cables are pretty rigid, they have to be routed through the bracket holes before the bracket goes into place.  Plus it's a good idea to make sure the cables are the right length and all that.
 
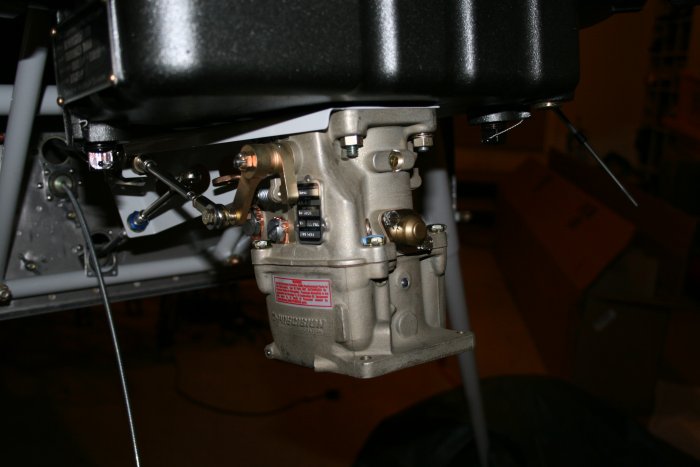
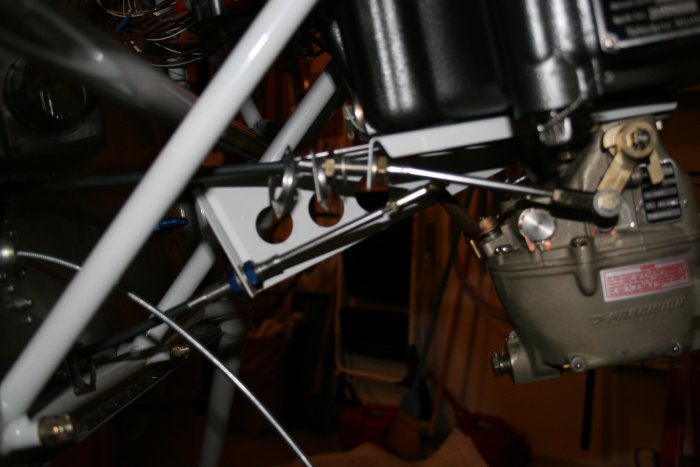
So I ran the cables through the bracket.  Then temporarily bolted the carb and bracket to the engine.  Throttle cable runs from left-top to right bottom.  Mixture cable runs from left-bottom to right top. 
 
A good look at the mixture cable coming through the bracket.
 
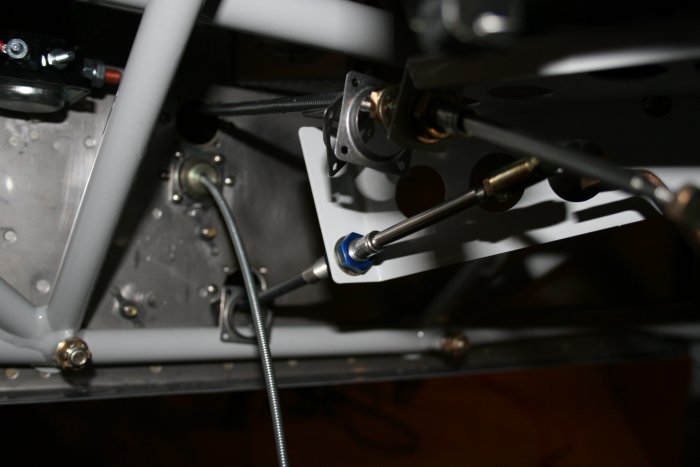
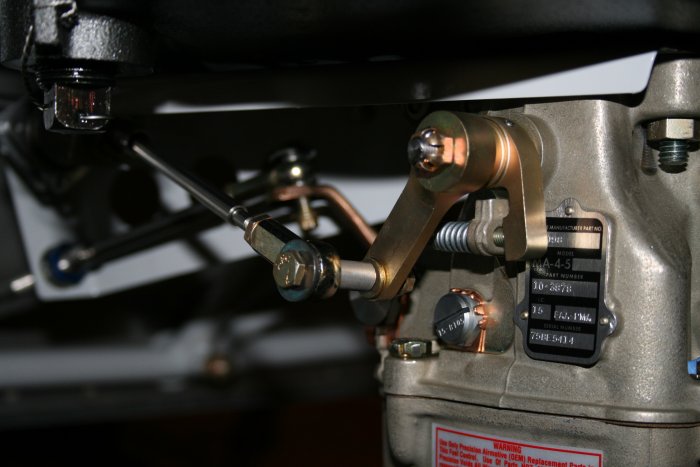
Attaching the cables to the control arm is not a matter of bolt, washer and nut.  There's all sorts of different washer types, a spacer and a self-locking metal nut -- all in a certain order.  But Van's drawings show exactly how it goes and I managed to find all of the hardware.  With all of the kits I've received -- Empennage, wing, fuselage, finish, firewall forward -- I can't think of a single instance where I was missing something. 
 
This is the throttle arm on the side of the Carb.
 
 When I was sure everything was right, I took the carb off.  I coated two square gaskets with EZ Turn.  One gasket goes between the engine and bracket.  The second gasket goes between the bracket and Carb.  Then I installed the four nuts, washers and star washers. 
 
Previous
Home
Next